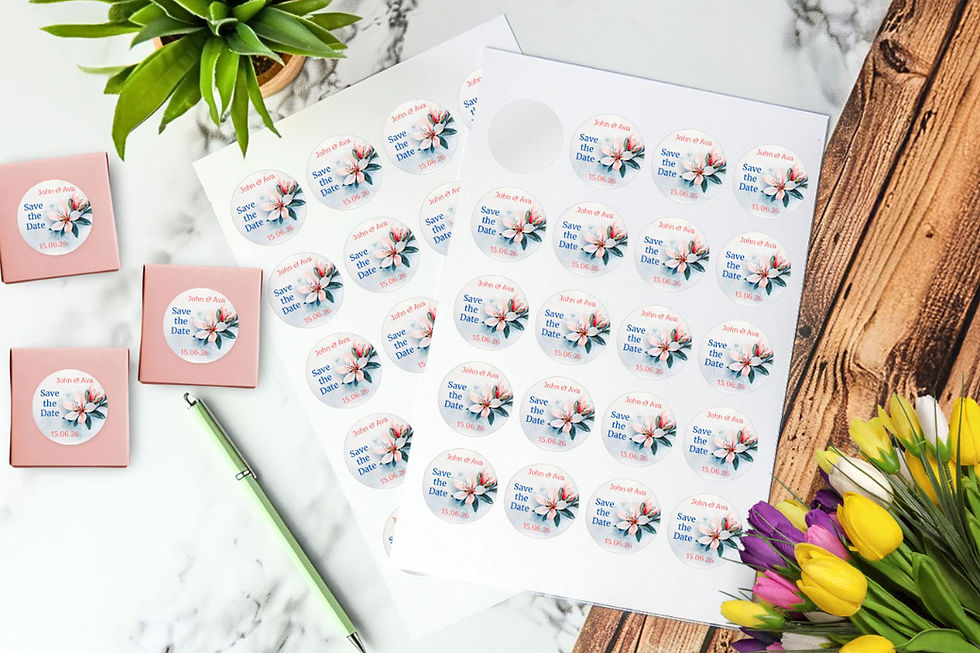
Making Stickers at Home: A Comprehensive Guide
- Evergreen Goods
- Sep 6, 2023
- 3 min read
Updated: Apr 11, 2024
Introduction to Homemade Stickers
Creating stickers at home is a fun and rewarding hobby that allows you to express your creativity and personalize your belongings. With the right tools and techniques, you can produce high-quality, custom stickers that rival those sold in stores. In this comprehensive guide, we'll walk you through the entire process of making stickers at home, from choosing the right materials and designing your stickers to printing, cutting, and applying them.
Materials You Need for Creating Stickers
To get started with making stickers at home, you'll need the following materials:
Adhesive sticker paper or vinyl: This is the base material for your stickers. Choose between adhesive paper, which is more affordable and easier to work with, or vinyl, which is more durable and water-resistant.
Printer: A high-quality inkjet or laser printer is essential for producing vibrant, professional-looking stickers. Make sure to use the correct settings and ink type for the material you're printing on.
Design software: You'll need software to create your sticker designs. Popular options include Adobe Illustrator, Photoshop, and Canva. There are also free alternatives like GIMP and Inkscape.
Cutting tools: You can use scissors, a craft knife, or a cutting machine like a Cricut or Silhouette to cut out your stickers.
Laminating sheets (optional): If you want to protect your stickers from wear and tear, consider laminating them with clear self-adhesive sheets.
Designing Your Stickers
Follow these steps to create unique and eye-catching sticker designs:
Choose a theme or style: Start by deciding on a theme or style for your stickers, such as animals, quotes, or abstract patterns. This will help guide your design process and ensure your stickers have a cohesive look.
Sketch your ideas: Before diving into the design software, sketch out your ideas on paper. This can help you refine your concepts and make the design process smoother.
Create your designs in the software: Import your sketches into the design software and use the tools available to create clean, professional-looking designs. Be sure to use high-resolution images and vector graphics for the best print quality.
Select colours and fonts: Choose colours that complement your designs and are easily visible on the sticker material. When using text, select clear, legible fonts that match your design theme.
Printing and Cutting Your Stickers
Once you've created your designs, follow these steps to print and cut your stickers:
Test print on regular paper: Before printing on the adhesive material, do a test print on regular paper to ensure the colours and design elements appear as expected.
Load the adhesive material and print: Load the adhesive paper or vinyl into your printer according to the manufacturer's instructions. Print your designs, making sure to use the appropriate settings for your material.
Cut out your stickers: Use scissors, a craft knife, or a cutting machine to carefully cut out your stickers, following the contours of your design. Take your time to ensure precise and clean cuts.
Apply optional laminate: If you're using laminating sheets, apply them to your printed stickers before cutting them out. This will provide an additional layer of protection and give your stickers a professional finish.
Applying Your Stickers
Now that your stickers are printed and cut, follow these tips for applying them:
Clean the surface: Before applying your stickers, make sure the surface is clean and dry. Dust, dirt, or moisture can prevent the adhesive from sticking properly.
Peel the backing carefully: Gently peel the backing from the sticker, being careful not to touch the adhesive side too much, as this can weaken the adhesive.
Position your sticker: Align the sticker with the desired location, ensuring it's level and cantered. Press the sticker onto the surface, starting from the centre and smoothing outward to avoid air bubbles.
Smooth out any bubbles: If you notice any air bubbles, use a flat object like a credit card to gently smooth them out, working from the centre of the sticker toward the edges.
Tips for Creating High-Quality Stickers
To produce the best possible stickers at home, keep these tips in mind:
Invest in quality materials: High-quality adhesive paper or vinyl and a good printer will yield better results than cheaper alternatives.
Experiment with different designs and techniques: Don't be afraid to try new styles and design elements, as this can help you develop your skills and create unique stickers.
Take your time: Be patient when designing, printing, and cutting your stickers. Rushing can lead to mistakes and lower-quality results.
Conclusion
Making stickers at home is a fun and creative activity that allows you to personalize your belongings and express your artistic talents. By following this comprehensive guide and investing in the right materials, you can create professional-quality stickers that stand out and make an impression.
%20RGB.png)


Making stickers at home is a fun and creative way to personalize projects, but I’ve found that when you want a more professional look (or just don’t have the time to DIY), it helps to check out dedicated providers.
I’ve used Libra Labels before, and they offer high-quality custom labels and stickers that save a lot of effort while still giving you that polished finish. It’s a nice balance DIY for fun, and Libra Labels when you need something durable and professional.